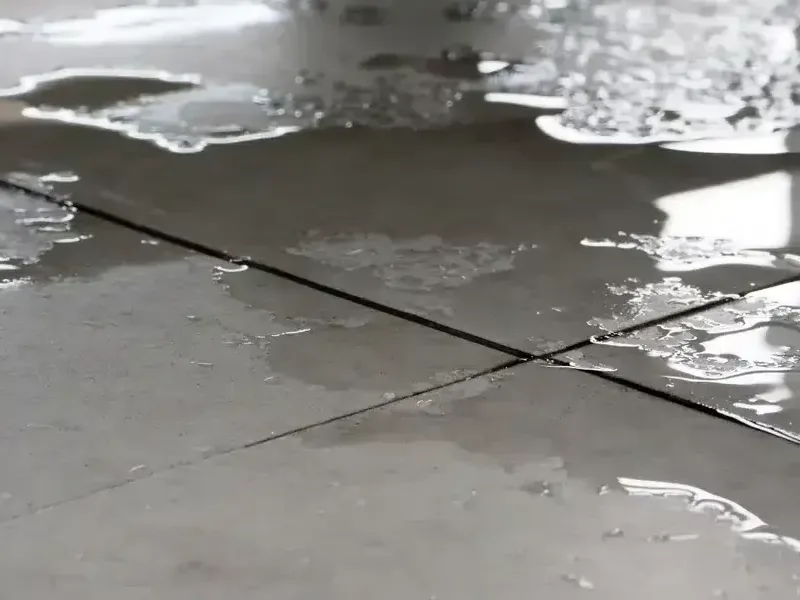
Water appearing along a floor edge in Sand Springs needs a source assessment before the finish is repaired. A concealed supply leak can leave several layers wet even after the plumbing work is complete. The cleanup plan follows the installed floor, its underlying materials and the places where water has moved beyond the original opening.
Key takeaways
- Have the leaking supply component identified and controlled before finish repairs proceed.
- Record the floor covering and the underlying assembly separately.
- Keep plumbing access openings available for the moisture assessment.
- Compare repeat material readings before deciding that the floor is ready to close.
Separate the plumbing finding from floor damage
A plumber identifies and repairs the failed supply component, while the restoration assessment describes what the escaped water reached. Keeping both findings in the record helps the owner understand why completion of a pipe repair can still leave a separate task beneath nearby flooring.
The first floor observations should include where moisture appeared, whether the surface changed shape and what was opened during source access. That sequence is useful when the most visible wet spot sits away from the repaired component, particularly where a covering hides the route underneath.
The slab leak cleanup service connects source control with assessment of the wet assembly. It is helpful to keep repair photographs and the location of the plumbing opening together so later material decisions can be traced to the conditions actually found.
- Retain photographs of the exposed plumbing repair.
- Label the original wet area before finishes are moved.
- Describe changed floor conditions separately from the source diagnosis.
Describe the layers that need evaluation
A finished floor can include more than the surface visible from the room. The assessment identifies the installed covering, the supporting material beneath it and any accessible layers between them, because those components may hold moisture or limit the path by which it can leave.
The edge of an access opening exposes the floor layers; moisture readings across the room show how far the water traveled. Measurements and additional observations should extend across the affected area so a dry looking opening is not treated as the only reference for a concealed section farther away.
Material names belong in the work record only after the assembly has been identified. An owner can help by providing available installation information, but the crew should still connect that information with what is exposed in the home before selecting access, drying or replacement work.
Map moisture around fixed floor obstacles
Kitchen islands, built in storage and room partitions can interrupt access to the floor surface. The technician marks those obstacles on the moisture sketch and notes where readings were possible, which makes it easier to explain any remaining inspection gap before the project moves toward finish work.
The perimeter deserves attention because water may continue along a concealed edge after the central surface looks unchanged. Thresholds and wall bases provide useful comparison points, especially when the affected floor runs into another room with a different covering or a less accessible cabinet arrangement.
If accessible liquid remains at the repair area, water extraction may be part of the work before concealed moisture can be evaluated clearly. The record should identify that liquid removal without treating it as a substitute for measurements inside the retained floor assembly.
- Include fixed cabinetry on the floor sketch.
- Distinguish tested areas from locations that remain blocked.
- Check both sides of a material transition where water has traveled.
Choose openings for a stated purpose
Opening a finished surface should answer a practical question about repair access, material condition or drying. A clear explanation helps the owner understand why a particular section needs to be exposed and what information the crew expects to obtain once the covering is lifted.
The extent of removal depends on the material and the conditions beneath it. Loose edges, water contact and accessibility may affect that decision, and photographs of each opened layer can preserve details that would otherwise disappear when damaged pieces are taken out of the room.
An access plan also needs a route for debris and a place for retained pieces or samples. Keeping those materials organized reduces confusion during reconstruction and allows the finish contractor to see how the original floor was assembled at the locations that required opening.
Read the material response during drying
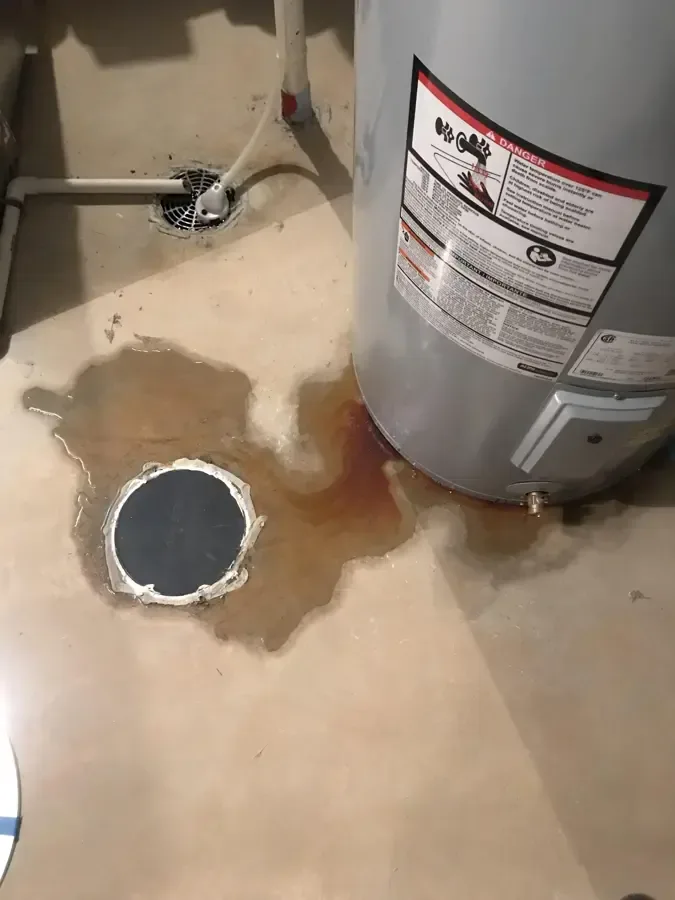
The structural drying assessment tracks the retained assembly after the source is controlled and necessary access is available. The technician records material readings alongside room conditions so a change in the floor can be understood in relation to the drying environment.
Comparable test locations make the record useful across visits. A measurement at an exposed edge and another through a different finish may reflect different conditions, so the notes should say what was measured and how the point relates to the remaining affected area.
When an isolated section remains elevated, the crew reassesses access and the possibility of continued moisture rather than assuming more equipment will resolve every problem. The owner should receive an explanation of the adjustment and the specific material that still needs attention before closeout.
- Use labeled points that can be revisited consistently.
- Track differences between exposed and concealed sections.
- Document the reason for changing equipment or material access.
Delay finish decisions until the substrate is ready
Replacement flooring needs a suitable supporting surface and an installation plan appropriate to the selected product. Drying records give the next contractor information about the affected area, while the installation decision remains tied to the actual material and the conditions present when the work begins.
A cosmetic change can hide the location that previously required measurement. Keeping the area available until the necessary checks are complete makes the handoff clearer and helps prevent a patch from covering a section that still needs assessment beneath the room surface.
The owner can collect finish samples, product information and repair photographs while drying proceeds. Organizing those details early supports practical reconstruction planning without treating the selection of a matching surface as evidence that the underlying wet assembly has already reached its drying goal.
Keep a readable record for the next contractor
A useful closing packet shows the repaired source location, opened floor sections and the materials retained for drying. It should also identify any area that remained inaccessible so the next contractor can plan around that limitation instead of assuming the room was inspected uniformly.
Photographs work best when linked to a room sketch and a short explanation of what they show. An unlabeled image of an opening can be difficult to place later, especially after furnishings return and the original water mark is no longer visible on the finish.
For a Sand Springs floor repair, the practical handoff is a sequence of source control, material decisions and final moisture observations. Separating those records allows the owner to coordinate plumbing and flooring work while keeping any remaining access or reconstruction questions in view.
Questions
Does a repaired pipe mean the floor can immediately be covered?
The retained floor materials need their own assessment after the source repair. Installation readiness depends on the supporting surface and the requirements of the chosen finish.
Why is water visible away from the plumbing opening?
Concealed layers can carry moisture toward edges and transitions. A room map helps connect the observed wet area with the assembly exposed during repair.
Must every section of flooring be removed?
Removal decisions depend on the installed materials, water contact and access needed for effective work. The scope should identify a reason for each section selected.
What should the flooring contractor receive?
A labeled sketch, material descriptions, opening photographs and the drying record provide a useful handoff. Any unresolved access issue should be stated alongside the completed work.